Why white balance do not matters when shooting RAW or Cine EI?
What is a white balance and why it do not matters when shooting RAW or Cine EI.
For once, a long explanation for basic understanding of what is a white balance. Why it do not maters so much when you are shooting RAW or Cine EI. It’s a bit about lighting source but more about what white balance means for RAW footage to help you understand how your camera is working to get the better of it.
What means: “white balance”?
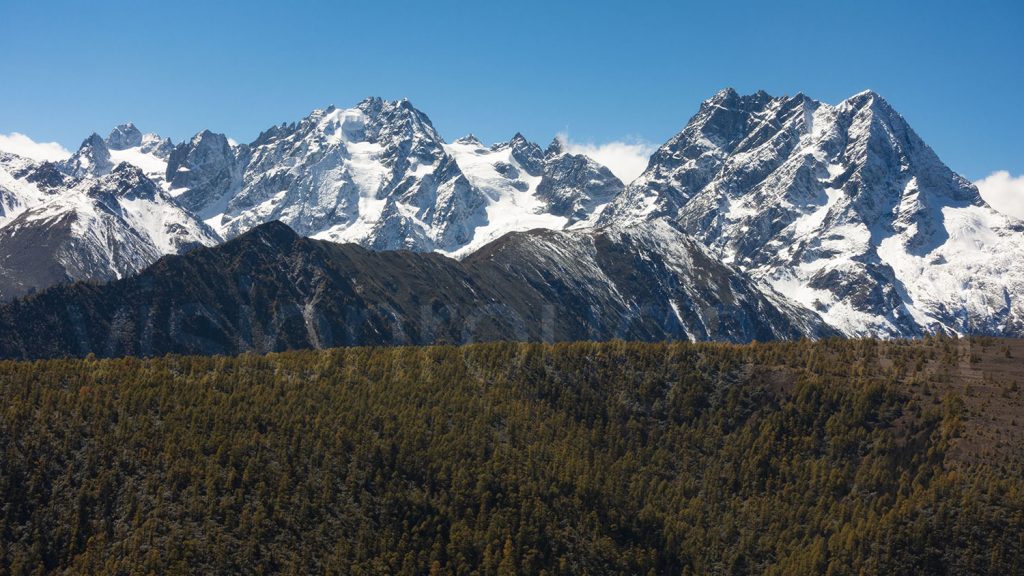
To be simple; let’s says it’s a way to balance the amount of each colors to makes them look natural. The image colors can be shifted from blue to yellow and from green to magenta to get as natural as possible. “Natural as possible” may looks like a crazy concept, but let says that on a sunny day; the snow should be white, trees looking green, sky should be blue…
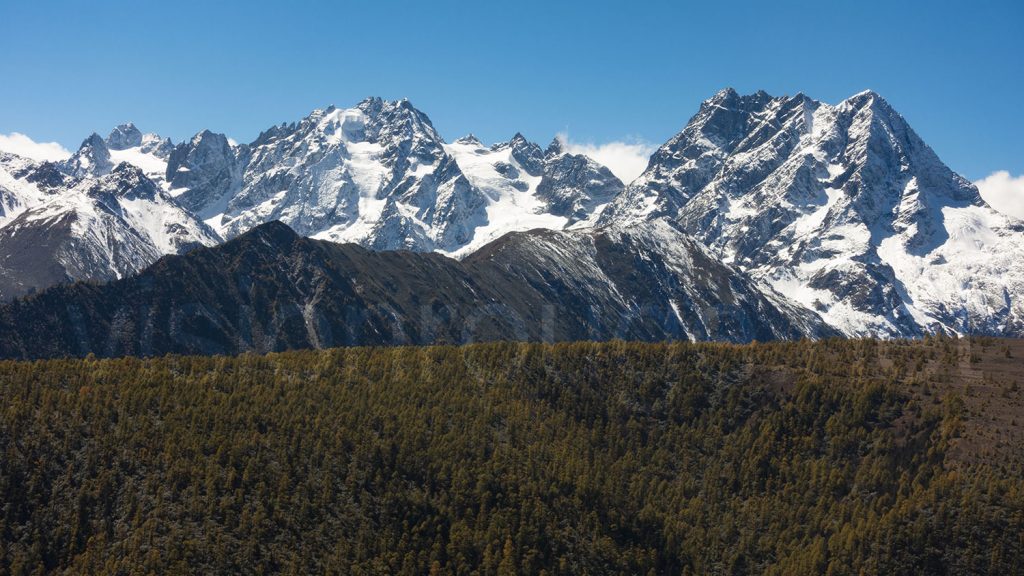
This white balance, or color shift, exist in everyone’s brain. Naturally, any camera system trying to picture a scene, either for video of still will need to implement such to adapt the exported picture with the existing lighting.
Shooting RAW or Cine EI is a way to keep white balance out of the equation in order to adjust it when you are in a more controlled environment.
We have a natural white balance in our head (unfortunately).
Our eyes already have a white balance regulated by our brain. If you spend few time with colored glasses and removed them suddenly, you will find that, your view is not accurate. It will slowly adapt to fit the way it should looks for your brain. The common test you may have experimented is to go skiing with pink or yellow sunglasses. When you lift the glasses at the end of your ride; the surroundings looks the opposite color of the one you saw with your glasses on. This is a very important point to understand also for the rest of this article if you want to experiment further. If your room existing light are shifted to a yellow, your screen may looks too blue. At the opposite, if you are in a blue environment, a screen may looks too yellow and trick you about getting the right balance.
You brain internal white balance can be your worst enemy. Hopefully with photography, digital cameras can’t be tricked and it may be safe to follow what your screen is displaying more than your feelings. Plenty of automatic tools and meters can helps you understand what kind of light and color are actually present in a room. It’s also important to have a screen able to display all these levels of color shift to do something accurate. Professional picture editing software displays information on each pixel, indicating the exact amount of colors present for each dot. Only this can be trusted.
Why white balance and not black or blue?
White is, per definition, the sum up of all the colors.
A white source light is composed of all the possible colors added together. So if white is accurate for a scene; we can easily deduct that all other colors are present at a right amount.
With the same logic, a object looking white is an object which reflect all the colors it receive in the same amount. A red object is an object which absorb all colors and reflect only the red one, so it appears red to you or your camera.
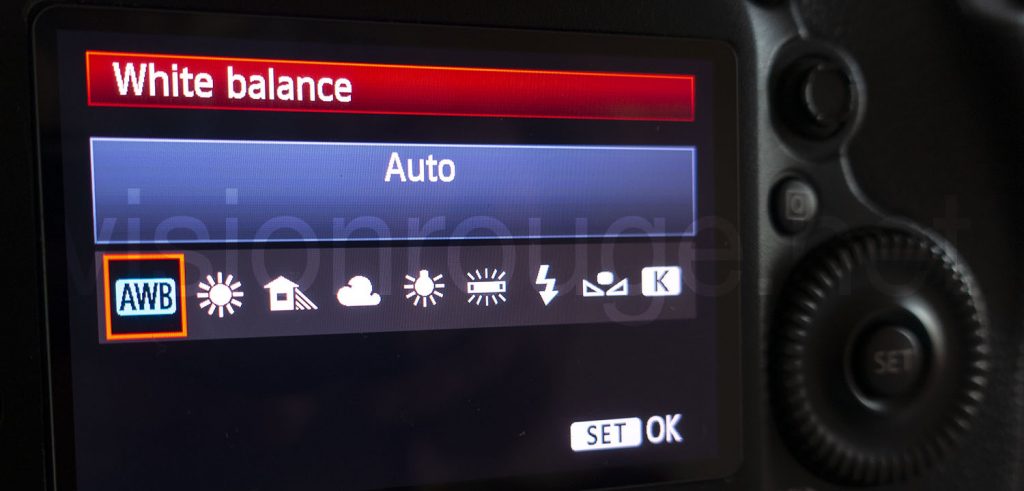
So we have to use the white as reference for such reason; it’s a right marker to make sure all colors are represented in a scene. Modern cameras have plenty of white balance settings, going from automatic, (AWB), preset scene (Tungsten, Sunny, cloudy, Fluo…) or some you can choose by yourself. I will come back to this, but ultimately, the idea is to get a white target sample looking as white as possible in the final picture.
Not to go too much on details, but levels of grey are also working to do a white balance as it do not shift in the color. It could be concrete wall or a grey card if you have one with such. But for much of us, a absorbing surface as a white tee-shirt or a white page of paper is the perfect tools to check.
Why it’s getting complicated?
Let says, that you can’t trust your brain so much. You lighting can’t be trust either. You can’t just follow your DSLR screen as it may have a cast color. And your printer as it may also have another shift. If you want to get as accurate as possible, each step of your process need to be review to makes sure it do not deform or remove important information.
To give an example; if a light source is missing a color range, there is no way to get accurate color of an object at the end of the process. A room lighted only with a red light source will shows you the same color information if an object is red or white! Again the white levels should be right from start. Below is a clear example where white balance adjustment will not work, either shooting Raw or not. (Shanghai Auto Show).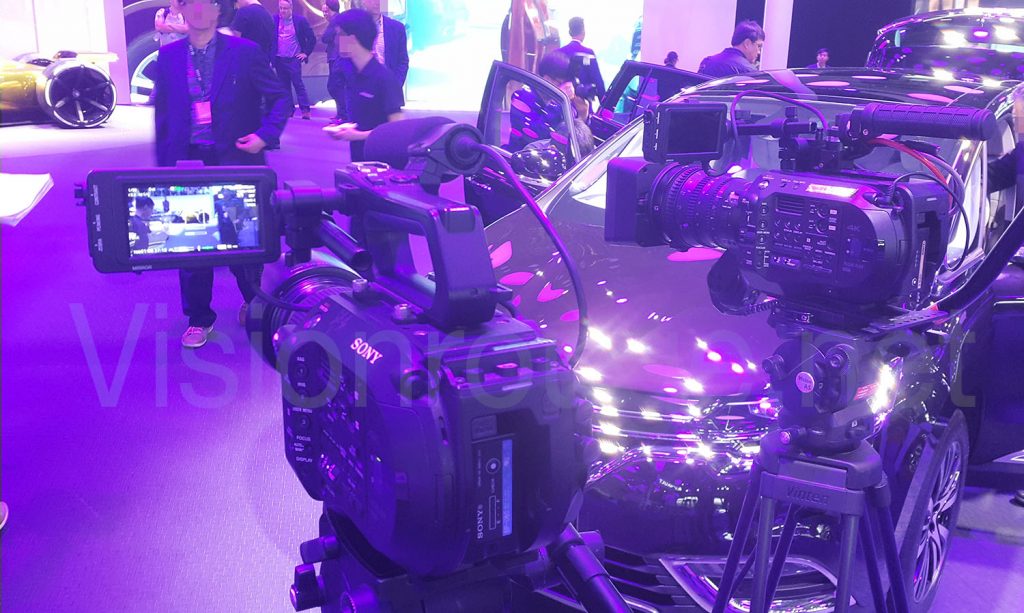
If you where to look at a printed picture only in a dark room with only one light source staring at one picture during 10 mn, your eyes may actually acclimate to the picture you have in your hand and may looks better after few minutes. Your own white balance will do its job.
The great thing is that modern camera do not record the white balance setup when shooting raw or Cine EI. This is a small file aside which going to helps your editing, so you will have plenty of time to do it later without destructive process.
Only one boss in the room.
Everything about this post is about how to shift the right way the white balance to make it looks right. One important point is to understand that the shift we are doing will affect the entire picture, so if 2 subjects are lighted with 2 different light sources, it will be impossible to get all right without doing masking. We usually try to get the main character in a picture with the right color and it may affect the background more than the opposite. A face should looks natural. Using reflector is also a great way to keep only one source that you bounce in different location.
A common saying is ” we will fix it in post”. Unfortunately, if you have a yellow main lighting an someone’s face with a natural sunny blue outside weather as background; there is no way to make this work: period. Most of the job should be done by choosing the right lighting at first.
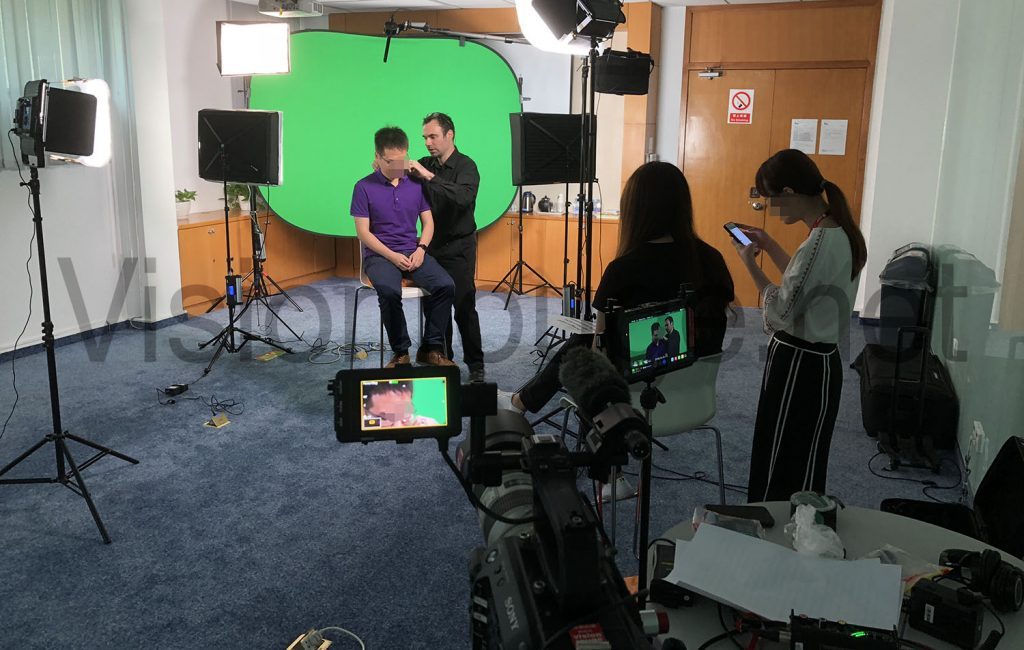
For a this green screen shooting, getting the same kind of light source for everything is mandatory.
First the sun…
As explained; white is considered as the sum up of all color range. A camera will picture the light and the reflection of the object resulting on different level of colors. If the source lighting your subject do not have the exact full amount of each color, it still be possible to get it right by shifting a bit the main white balance.
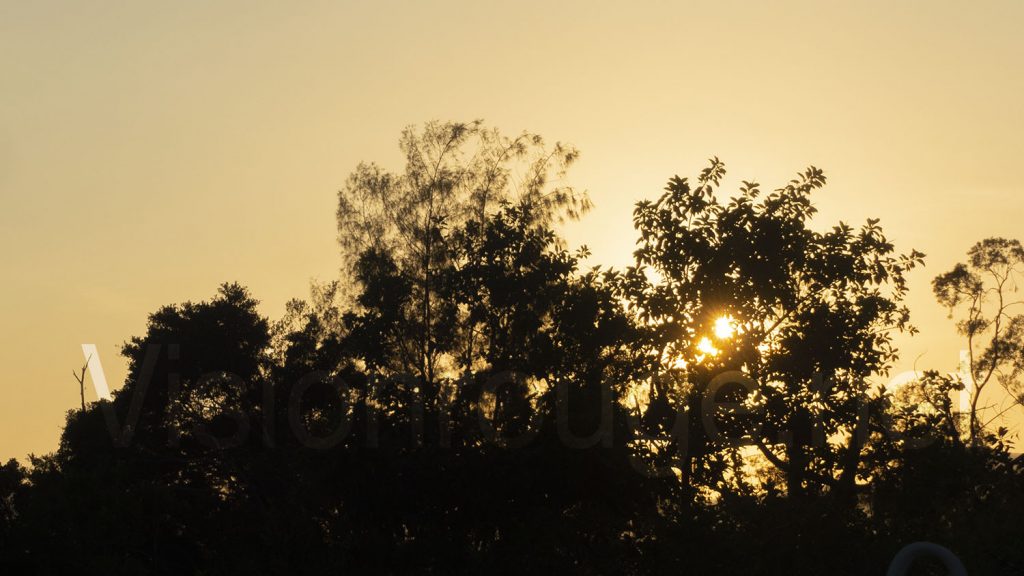
At the beginning, there was only one kind of light source: the sun/stars/moon. Basically, it’s is a giant fire ball or its reflection. So hot that it may be considered as white. Of course, even with only outdoor pictures with the sun as only light source, we can see that a sunny, cloudy or sunset time will look with different levels of yellows or blues. With pollution, it even starts to look pink or red! But to keep simple; let use the sun only at its best, at noon time on top of a mountain or at the beach far away from factories. In this case, the sun can go from warm yellow on the early morning to cold blue at noon. (Here is what Chinese pollution will do).
Led, Halogen and Fluo light.
The first artificial light were candles or fire which could be classified as warm and yellow. Please read later how to actually read the terms “warm” and “cold”.
After industrial revolution, tungsten lights and gas lights street appeared, followed by fluorescent, HMI, and now LEDs. There are actually many more, but let’s keep it simple.
Where tungsten light bulbs are also some kind of fire and get a white balance close to candles; HMI are producing an electric arc and get a white balance closer to the sun one’s. Fluorescent and LED can be shifted depending on the gas type they are filled with, and this is where things starts to get complicated. Depending on price, you may have very different white balance where this was never a problem with tungsten or HMI. Also times matters and an old fluorescent tube, will also produce a different kind of white after few years of use, same with LED.
Let’s says that I’m keeping these 6 kinds of light source for the sake of the post: Sun at noon, Candle, Tungsten, Fluorescent, HMI and LED.
Warm / cold / color temperature / degree Kelvin. What do you mean?
A very funny general consensus is the acceptance that warm = yellow and cold = blue. It’s accepted in everyone’s mind that something orange look warmer than something blue. The reality is actually the opposite inside the light fixture.
To produce a blue white as the sun or with HMI, we need to get a way higher temperature than for a candle or incandescence lighting.
So I will not trick you too much and will keep the idea as it is accepted: warm is yellow and blue is cold.
But I will also need to add a new parameter; the actual temperature of the light. This temperature is expressed in Kelvin or. We could have keep the Celsius unit or Fahrenheit for temperature as well, but the standard stands with Kelvin. As reference; 1 degree Celsius is translated for 274.15 Kelvin and 33.8 Fahrenheit.
When a tungsten or halogen light bulb is turned on; the internal temperature of the filament is around 3,200 K, it’s almost burning but the gas inside forbid this to do so. When a HMI light is used to light a scene; we have an internal temperature of 5,600K.
So, warm look = yellow = 3,200 K (tungsten/candle) and cold lighting = blue = 5,600K (HMI/sun)
It’s look easy but it’s only the beginning.
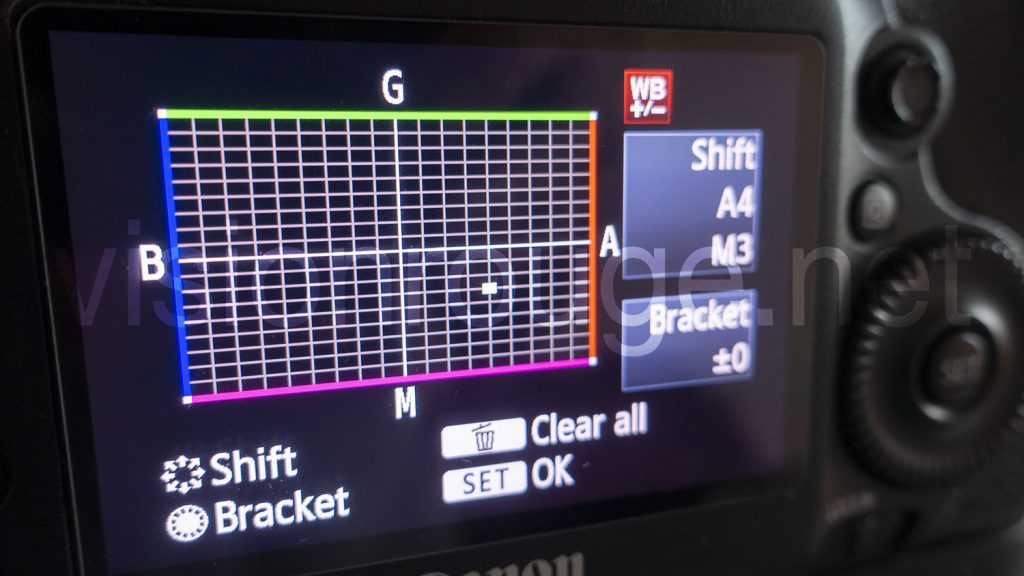
This is only if we accept that the white balance goes from yellow to blue color in a linear way. It starts at 3,200 K and will reach 5,600 K and should cover all the possible situations. Unfortunately, with new technologies as fluorescent and LED where the light is not produced either with a fire or electric arc, we have to add a new possible colors in our trip. Please welcome magenta and green tints! Here is a picture of my Canon 5D mark 3 where this is implemented. As you can see, going up and down adjust white balance shift from green to magenta. Moving my cursor from left to right add this time either blue or red. This is the best way to do this internally if you don’t want to do RAW of Cine EI.
Are bi-color LED the answer?
LED light fixture, for example, have a very strong tendency to shift green or magenta. So even if a LED light fixture advertise that they are bi-color adjustable; it means that they are yellow and blue adjustable whites. It completely hide the fact that they may add plenty of green or pink at the same time! Easy to understand that it will be impossible to match the sun if we add plenty of pink at the same time choosing a white balance at 5,600K.
Some new LED panels have actually few green or pink extra led to keep a perfect linear move from cold to warm adjustment. Some new LEDs panels can even add the exact amount of any possible color. So they can produce any white balance you wants. The downside is that you are always using all the LED in a partial way to add a bit of pink here, or a bit of magenta there, so these panels are always less powerful than a mono-color one.
But all this do not matters when shooting RAW or Cine EI!
Ok, I have explain all the possible white balances you could have. Let’s see how a camera works. The only thing you need to understand is that it’s important to get the same kind of light to do only one balance shift on a scene. Mixing HMI + tungsten as lighting will not be recommended. Yes, you can add gel filter to shift colors, but such gel also remove a lot of light power overall.
Modern cameras uses digital sensor to produce an image. It’s king of very simple: a array of receiver capture the light for each dots of your picture. It gives an electric information that it converted to a file; creating a digital picture. This information is read by your screen. Each dot color value gives the level of colors to display the picture.
This array of dots are actually a sub array of simple receivers having a filter in front of them. These filters let each dot get 3 unique color levels per dot: Green, Blue and Red. A white pixel receiving the full possible amount of each tree color, a black pixel is receiving nothing. It’s the same to display a picture. A full white pixel on your screen is a combination of 3 basic dots at full power. There are different screen technologies, but I’m trying to explain in a simple manner.
As you can understand easily, there is no ways of shifting the full arrays of pixel in your camera sensor to fit a desired white balance.
It may surprise, you but..?
White balance is always added after the picture is taken with an computing process. If you are shooting RAW or Cine EI, this process is done later in your computer. If you are shooting JPEG, Mpeg, this process is done internally in the camera body.
Let me write this another time:
THERE IS NO WHITE BALANCE DONE WHEN A PICTURE IS CAPTURED IN RAW, THIS IS A SIMPLE INFORMATION SAVED ASIDE.
Yes, you got his right (and it’s almost the same with ISO, btw)
Why you should always shoot RAW or Cine EI if you can?
Your sensor has its own white balance, and it’s better to let it as it is for saving your picture. You will have all the computing power of a computer to edit your file later and adjust it. Yes, having an accurate white balance is great to get an idea on set of what you will have. But doing an entire shooting with the wrong white balance if you are shooting RAW or Cine EI is absolutely no problem. For video, Raw means a lot of data and a need to process all this later. A very nice recording option you have on Sony FS7 camera is called Cine EI. This way, the white balance is only recorded aside the footage without destruction of the actual captured one’s. So you have best of both worlds with a light file size and plenty of possible adjustments later. Here in Guangzhou with my F55, I’m using Cine EI as well. The green cast comes from the poor quality SmallHD monitor.
If you are using such settings, you will see that white balance is not accessible in the menu anymore. You only have 3 preset for white balance, for you as reference. These are not recorded in your video media. (Ok, a small xml file keep track of your selected white balance switch to help your editing, but you do not have to follow this).
White balance and ISO are adjustable after the shot?
Not to confuse you too much, but actually, it’s the same with ISO. Except on camera with dual ISO sensor, a RAW file contain the picture at camera base ISO + a file containing the amount of amplification this picture should received. Again, doing it in post is the way to go as your computer will be willing to do it in a proper manner.
JPG is a compressed format. When the white balance or ISO level is written to a JPG a picture, all further adjustments means more information losses. If you are planning of JPG only, you need to nail the white balance at the time you press the shutter.
Best shooting practice
When doing a video or picture, avoid too much confusion and do not focus on white balance. Just shoot RAW or Cine EI. As soon as you only have one type of source of white light for your scene, you know you will be fine later. Most of modern camera have the AWB setting for Automatic White Balance which will be right 100% of the time. Don’t worry if it’s look a bit pinkish of blue on your screen. It may be your screen display, it may be your brain which fools you. In any case, this is something you can get right back in front of your computer. Getting things in focus or with the right exposure is the things which matters the most. ( ISO setting is also a processed added later, I have this post about Cine EI if you like to check how!)
Do not shoot JPEG only, you are losing so much information; even with small pocket camera, RAW is the way to go.
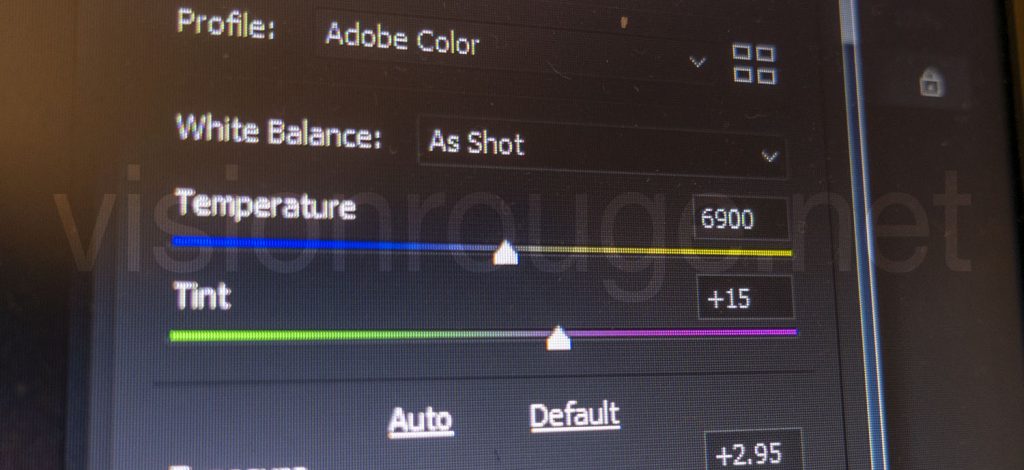
To shift the white balance using the RAW data.
Open the picture with a RAW capable software. Choose a grey area in your picture and makes sure you have the same amount of each color channel. Adjust if needed with the sliders, one is moving from blue to yellow, the second one from pink to green. It’s as simple as this. The drop menu can let you go back to the original white balance the camera thought it will be fine for you. This is only one indication. Feel free, of course to shift as the picture please you the much, but be aware of the existing lighting and screen setup which may looks different on your client screen. The room white balance you are editing may also fools your brain. Get all in order around you to get accurate reading more than great look. You can, of course, be a bit creative by warming a scene to make it more acceptable. (As for an hotel room for example.)
Feels free to comment below if you feels something is not right. I’m always eager to learn and share. Our job is to get the best of you on camera and white balance is an important part of it!

