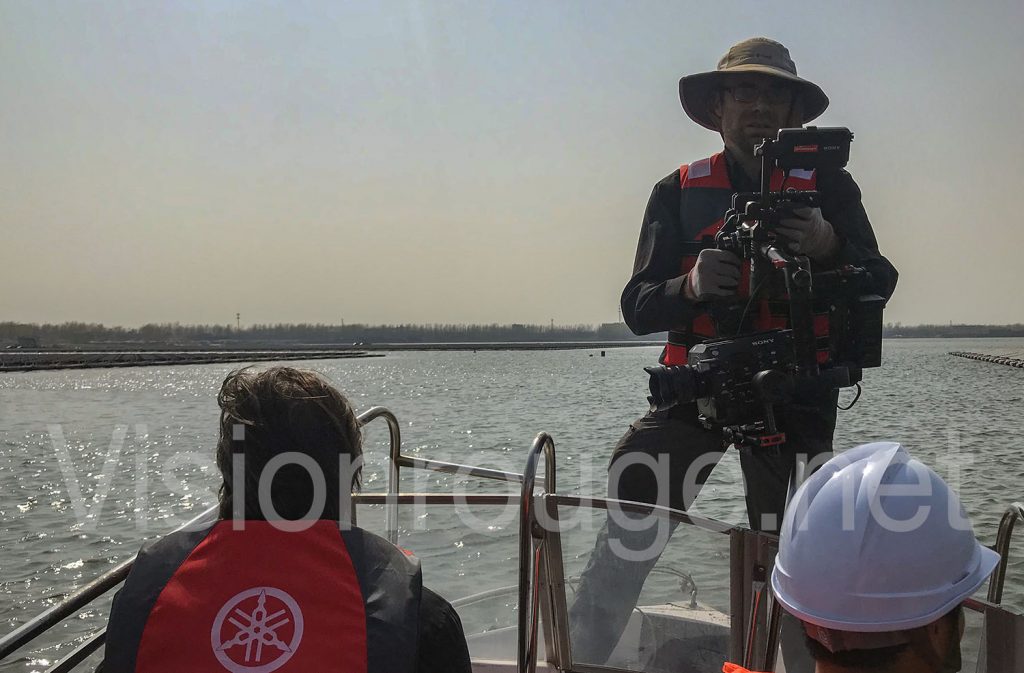
Sony FS7 on DJI Ronin-M? Yes, you can!
Put a Sony FS7 on DJI Ronin-M Gimbal !
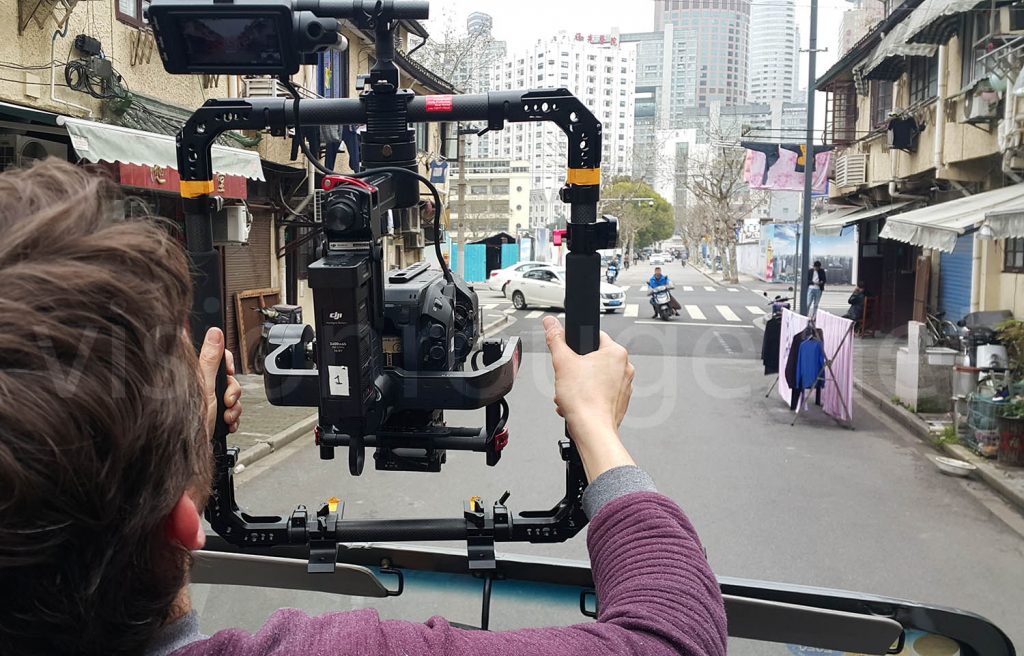
Looking online about this setup did not give you much detail so I decided to get a try and succeed to balance my 4K camera Sony FS7 on DJI Ronin-M. Please find below my detailed explanation and real work done. According to the DJI Ronin M specs, The Sony FS7 is too heavy for such setup and the arm too short to get it put inside. But if you have a setup already balanced before turning on the motors; it will work as only a little energy is needed to fight the movements. This is true for many gimbals actually. The balance should be done perfectly to save power and constraint on the gimbals motors.
First, my assignment was for the Auto Show at Shanghai 2017 where we should quickly go for few stabilizes motion shots, to more details and static shot on tripod. I wanted to get a very simple way to switch from one to another without the need of any tools; the camera chosen by my client, Renault innovation was a Sony FS7. Also, There is not so much backstage room most of the time on fair and show, so getting something tool-less with a quick mounting system is a must.
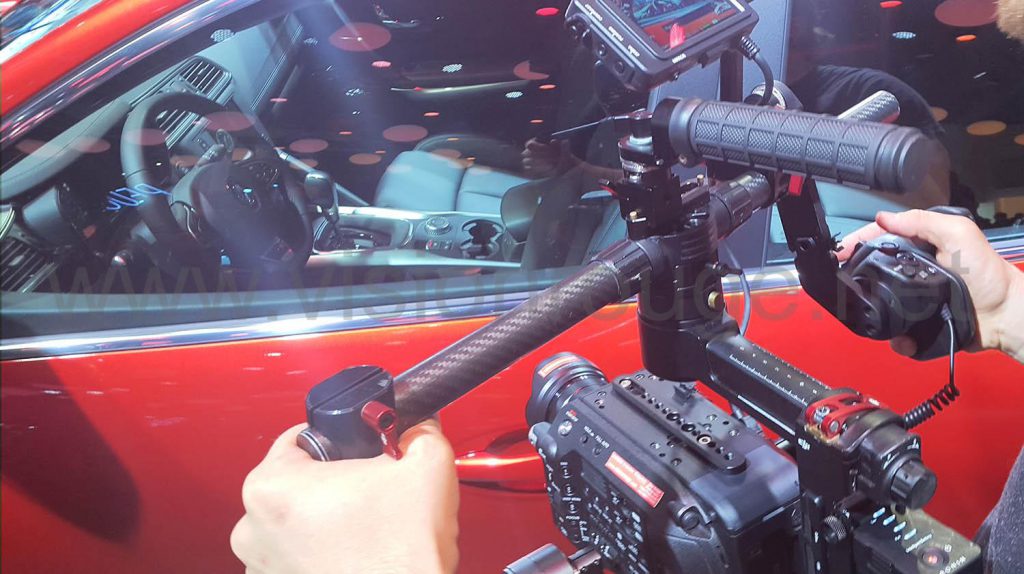
Which lens setup for a Sony FS7 on DJI Ronin-M?
I successfully tested the full size DJI Ronin 1 with a Sony FS7 before. This day we add also a large and heavy Cine lens and Follow focus. Some arms extension were added to fit the length of the Sony FS7 body. The final size of the gimbal and its weight is a killer if you don’t have a way to support it with an Easyrig backpack or similar. We did use such on previous shootings. This is heavy and not practical in a such environment. All car are prototype costing a lot and you don’t want to scratch anything. Going with a large rig or hit some of the VIP gust during the press day is not an option. I’m not even want to talk about the craziness of the Ronin 2, both on price and weight. With the smaller Ronin-M, you can get inside cars and keep shooting for way longer time.
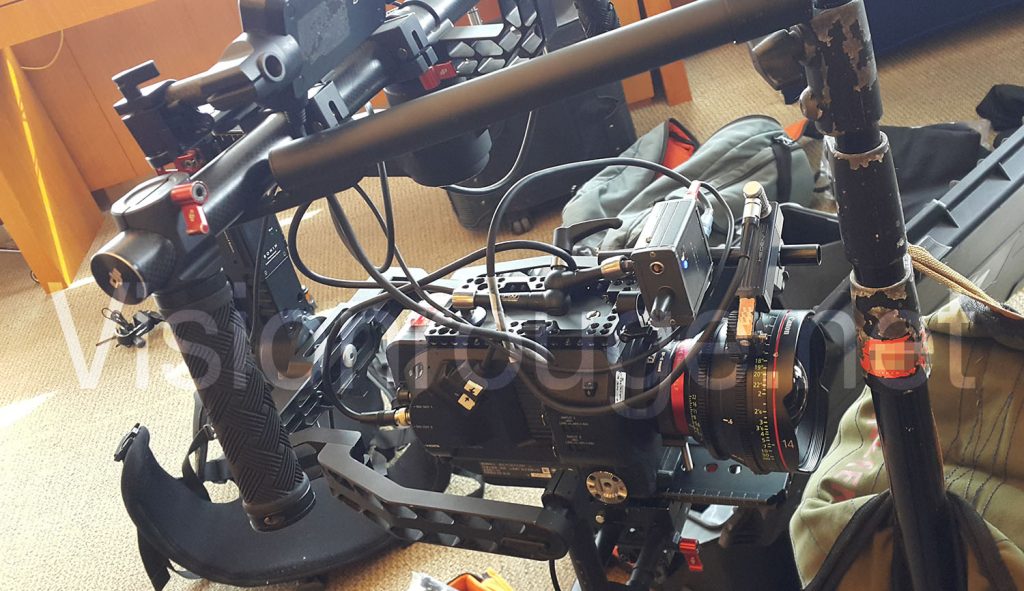
The first question was to pick up the right lens. I assumed that only wide shot will be done this way and so pick up the great Sony SEL1018 10 to 18mm crop sensor lens which is also a perfect match with the 18-110 Sony cine lens. It saves a lot of space in my bag and it cover an amazing range altogether. The SEL1018 is about 250 grams, and quite short. This Sony lens do not extend when going from 10 to 18 that is the equivalent of a 15 to 27mm full frame. And top feature: it is stabilized. It’s also not to expensive considering all of this. The maximum aperture is 4 (only) but it’s not a problem as I prefer to get more things in focus in a wide shot. The only downside with all these new Sony lenses are the focus which is drive by wire. This required a bit of training before getting use to it.
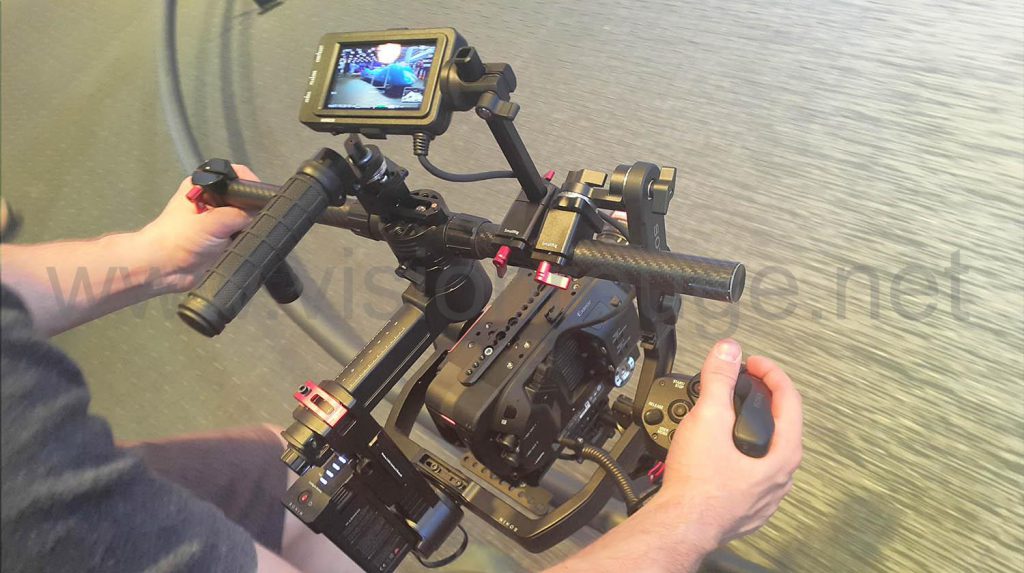
Prepare your Sony FS7 for weight loss.
The second challenge was to get the Sony FS7 camera body stripped at maximum. Still, I wanted to go back to a regular shoulder ENG in less than a minute without any tools.
To support me, the great Smallrig team offered me few items to get this working. to me, there are have no other brand that offer such low profile Nato rail.
I built my setup using their long NATO rail. I simply screw to the large 3/8″ hole after removing my camera handle.
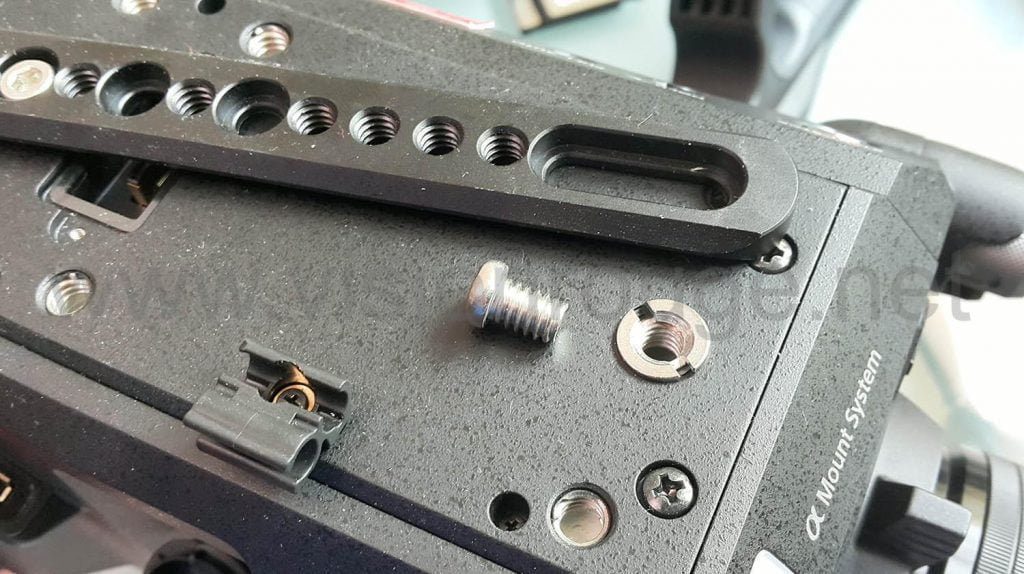
The screws needed a small adapter to fit a 1/2″; that’s the only trouble for now, but Smallrig is working on modifying this to let a NATO rail go on top of FS7 directly.
The handgrip (#1963) I used come with a locker on a rosette (#1272, #1255) to change orientation when going from gimbal to ENG style.
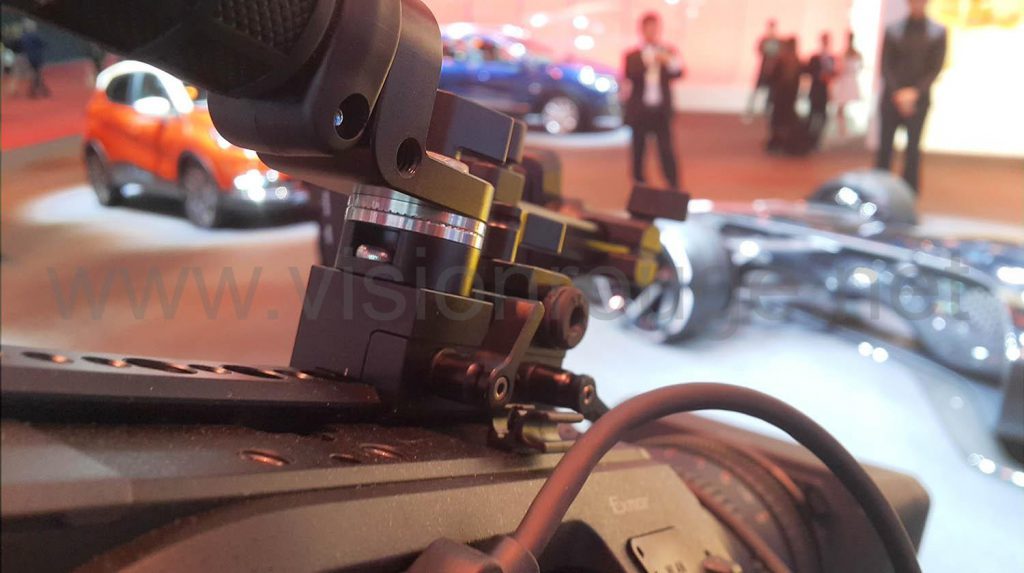
I screw another small NATO rail (#1195) on top of their Ronin M frame (#1704) . This way, you are able use the same handle on camera or on the Ronin M. I’m using 2 others of their lockers (#1816) to hold the Sony screen. The second one for the camera hand-grip and remove the Ronin M DJI’s one. Less gear to carry is always welcome.
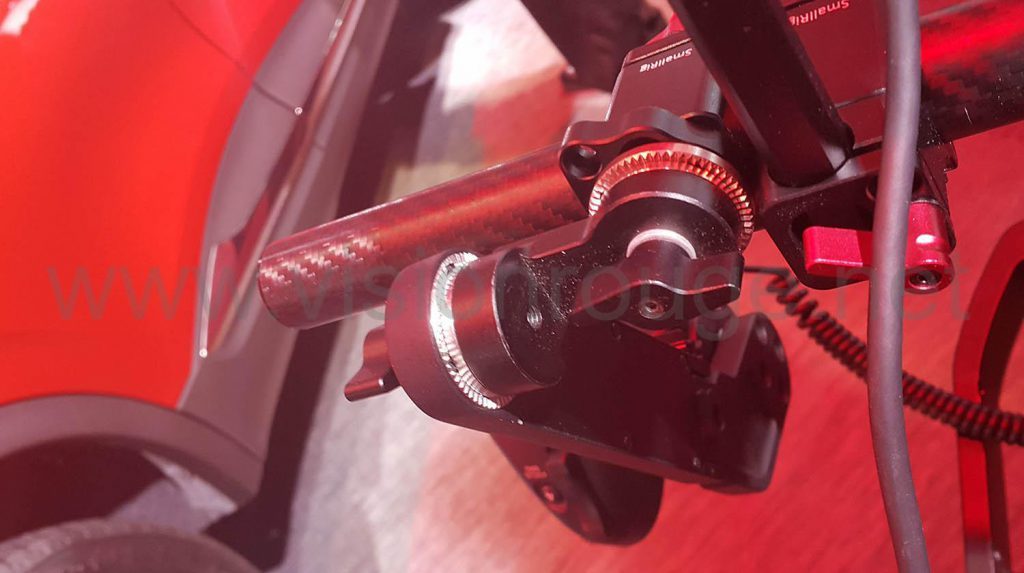
I just needed a 90 degree rosette adapter (#1592). I have to change also the locker on the Sony extension arm as I felt the screw was not getting in completely.
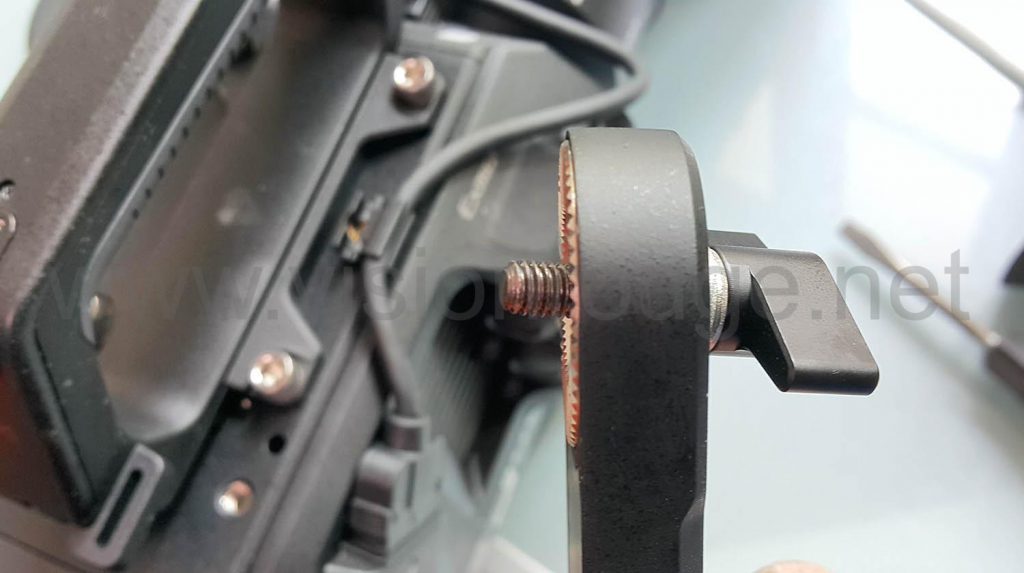
This is not perfect as one arm is a bit longer than the other, but it’s completely manageable. The operator can start stop the camera and have all recording information in front of him. It’s just a must as it’s hard to let one hand go, just to start rolling the camera. There are other rod and rig that can adapt this, but it’s a very simple way to get the Sony FS7 on DJI Ronin-M
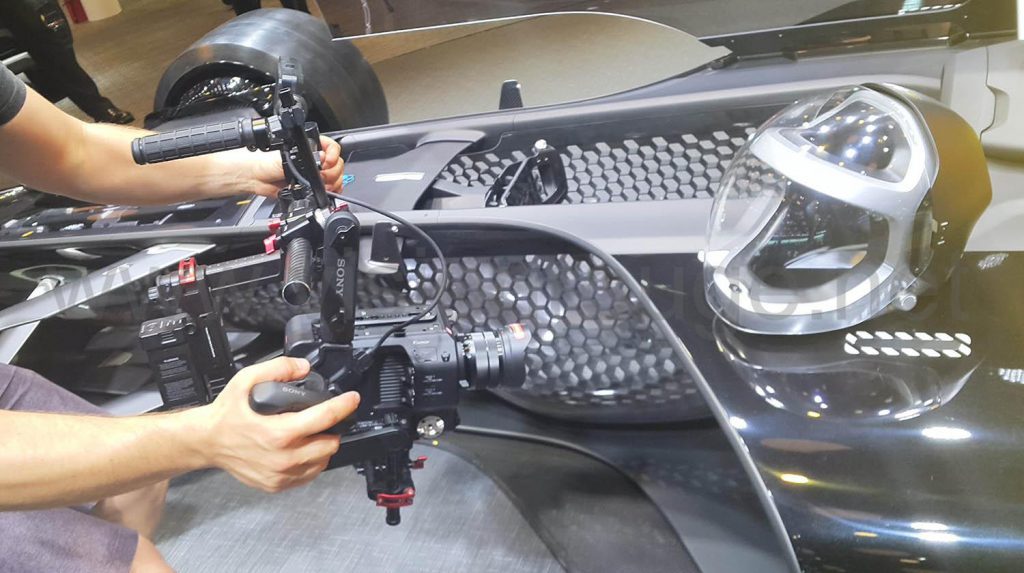
I screwed on my Vinten tripod plate (#1700) to a DJI Ronin M compatible (#1759). This way, there is no need to remove the plate from under the camera when going one setup to the other. Every second counts on a show like this.
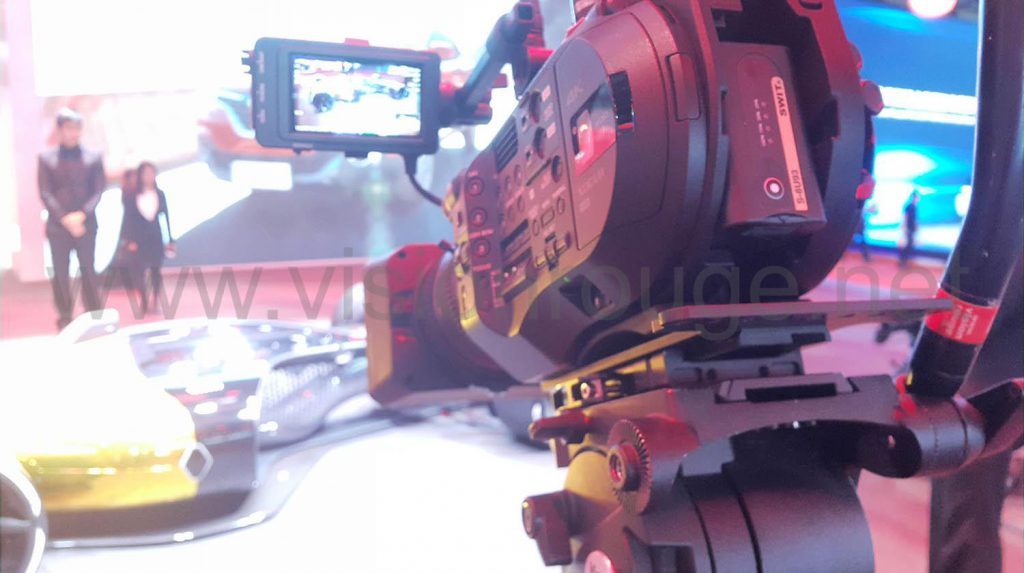
As you can see, the Sony preview monitor can be seen by the Ronin operator and put back very quickly with a simple NATO to 15mm rod (#1245). This Plate locking device is not perfect and can be easily un-tightened, so be careful when locking your camera to it. I wish SmallRig could work on this one.
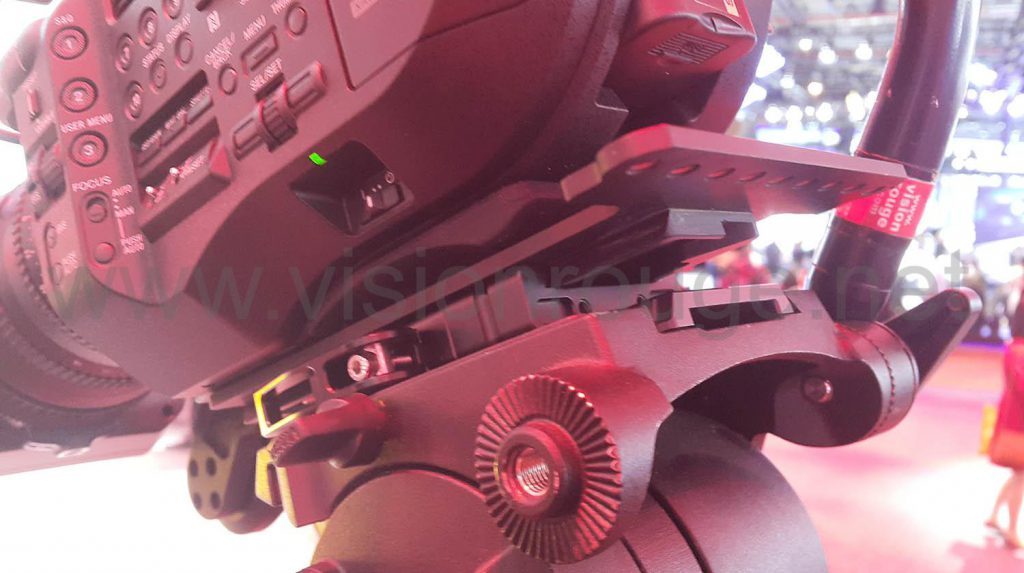
The screen can be adjusted as it’s already designed. Her is side by side during the interview session.
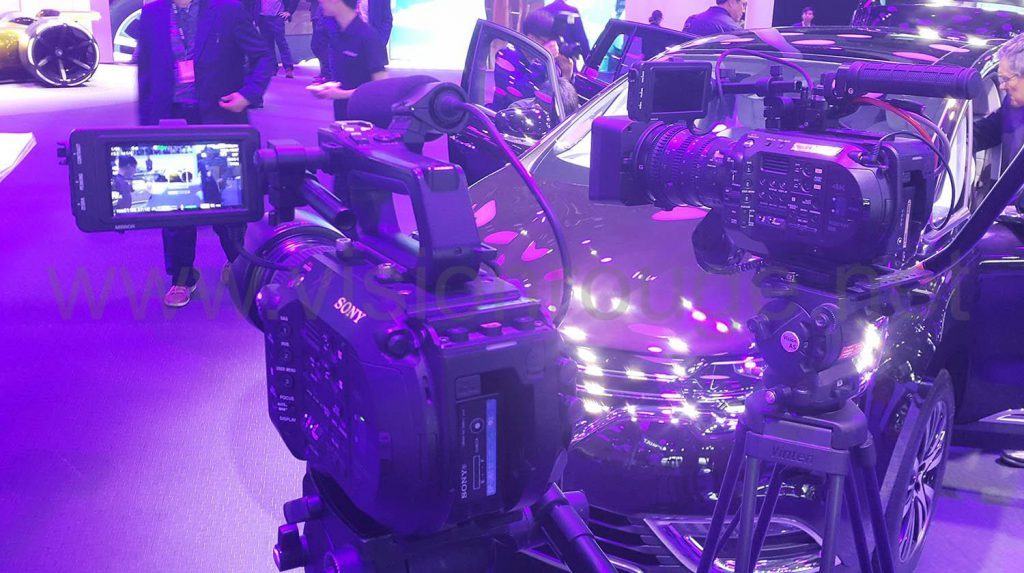
As I owned the Sony FS7 Mk2, the square rods still fit a 15mm round shaped. It still holds firmly, the older version is also compatible. There are other Smallrig or wooden camera handle that can be put on top of this Nato rail.
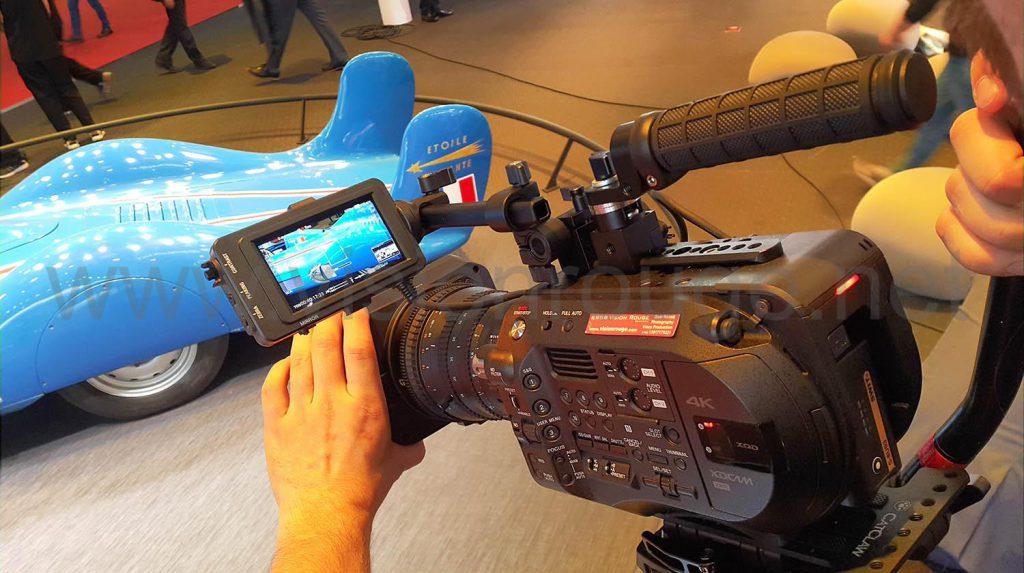
Balancing a Sony FS7 on DJI Ronin-M gimbal.
The third and last challenge was to balance it all. I order a copy of the Cinemilled on Taobao or Amazon. The brand Catclaw just worked for me. Any copycat that can accept Ronin-M plate system is fine, as we only need to move the camera back and forth.
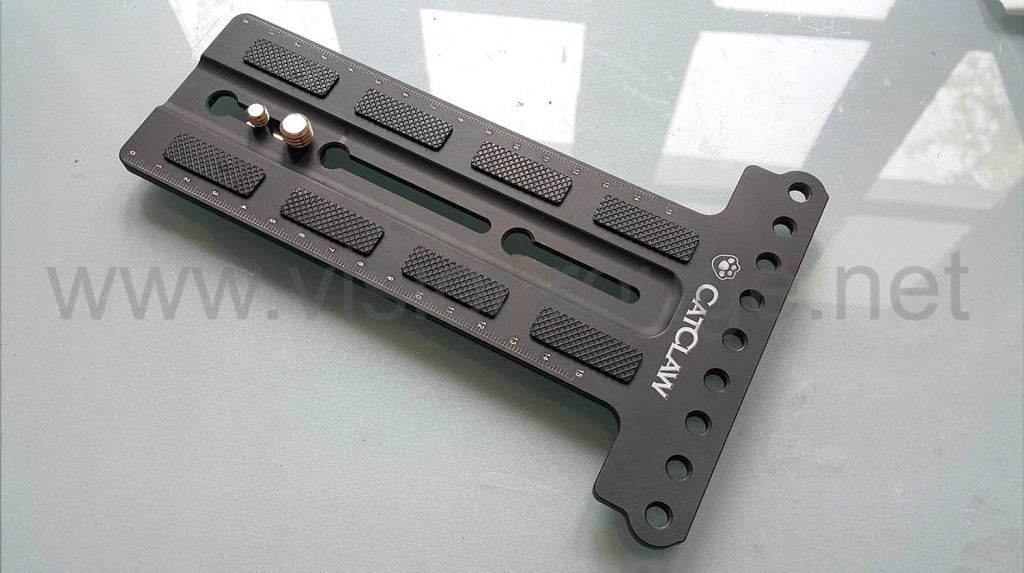
You will need to put the camera the very end of it.
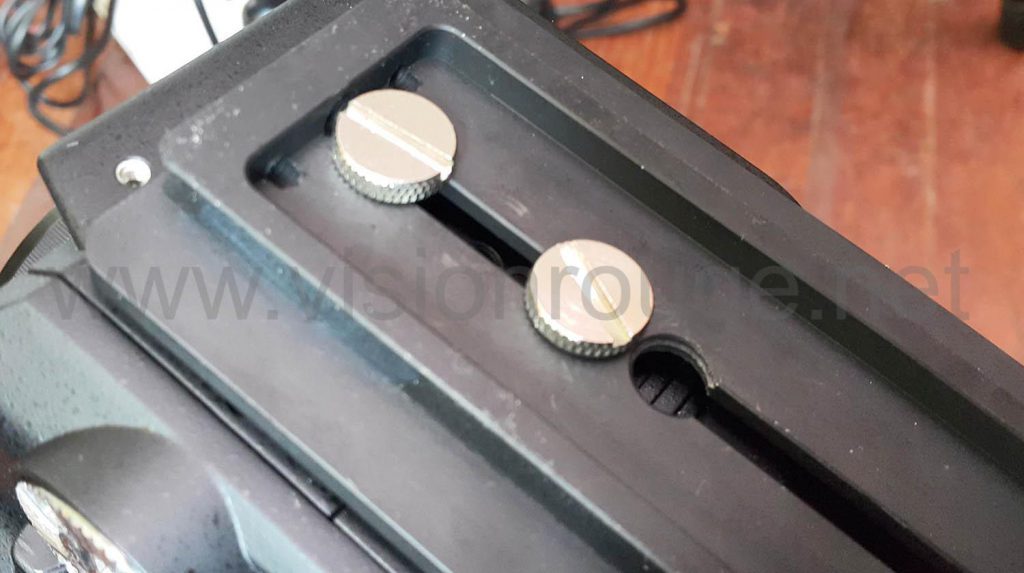
I extend the DJI Ronin-M vertical 15mm (#1766). There is not need to get extra counterweight using a large SWIT battery.
The weight of it was enough to get it perfectly static even without powering the motor. These batteries are actually very nice as they are compatible with Sony, meaning that you can have the remaining time accurate on your screen; they also last about 500mn!
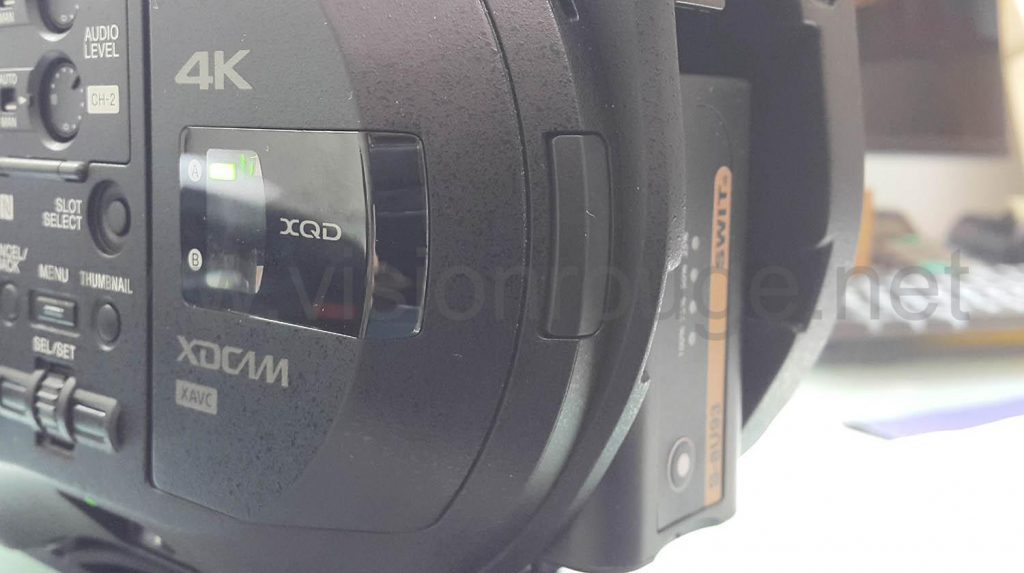
They do not get too much out of the camera body.
The final result is just fantastic, all fit in a bag. The footage looks great and both camera setups are possible without any downside. (Ok, you can’t put it in briefcase or reverse mode).
This is actually the first version of trying to get my Sony FS7 on DJI Ronin-M gimbal setup. I have now upgraded to a full cage system which offers more holding position when you don’t have a muscular camera operator available or need creative shot on the side for example.
Check this post to get more details.
Feel free to contact me if you need such setup for you next video project in China mainland or Hong Kong.
Please click on the Google advertising on top of this article to support such post. It’s just 2 seconds of your time and help getting a bit of money out of this.

