How to create nice Landscape Time Lapse movie: Our tips.
Our tips to create a landscape Time Lapse movie.
I’m sharing here tips to create a landscape indoor Time Lapse movie.
These basic advice helps to start recording landscapes video when you are within the building and outdoors is out of reach. With such a small kit, you can carry it with you and have plenty of short time lapse as this one.
This is based on a test done in Hong Kong during some time off on a shooting assignment. The final video is at the end of this post.
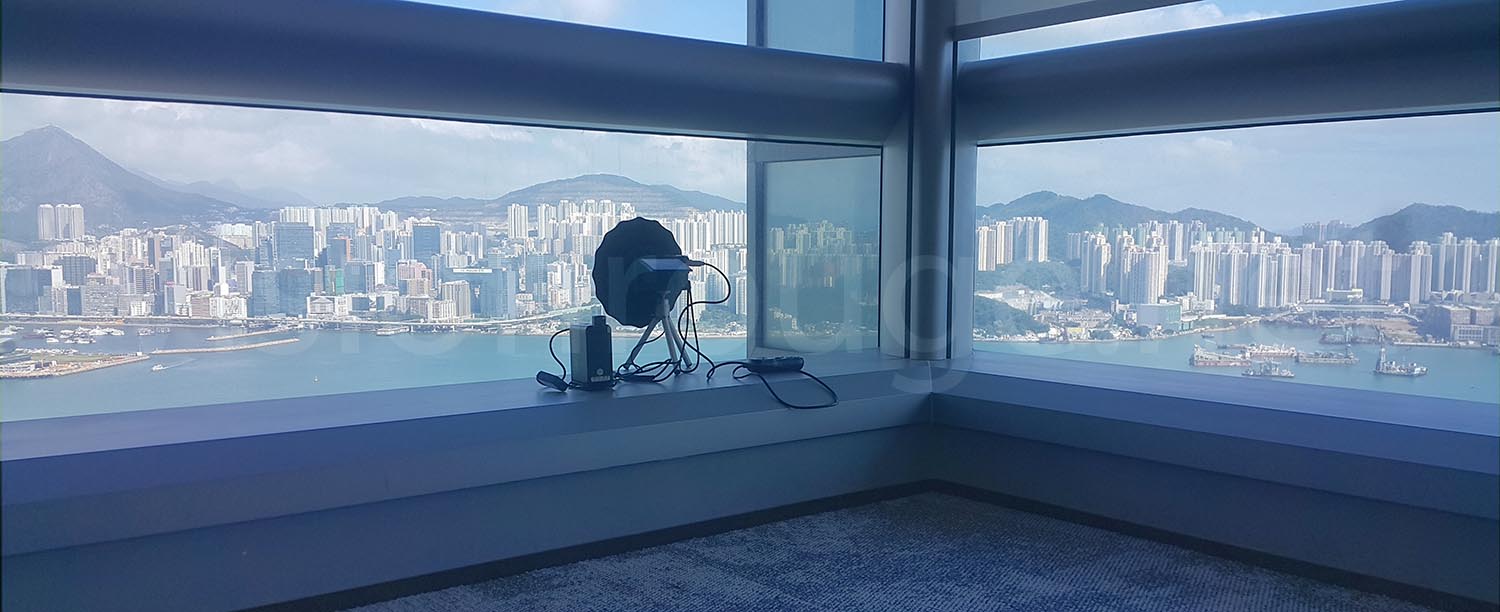
Avoid the light reflecting from behind the camera to your windows.
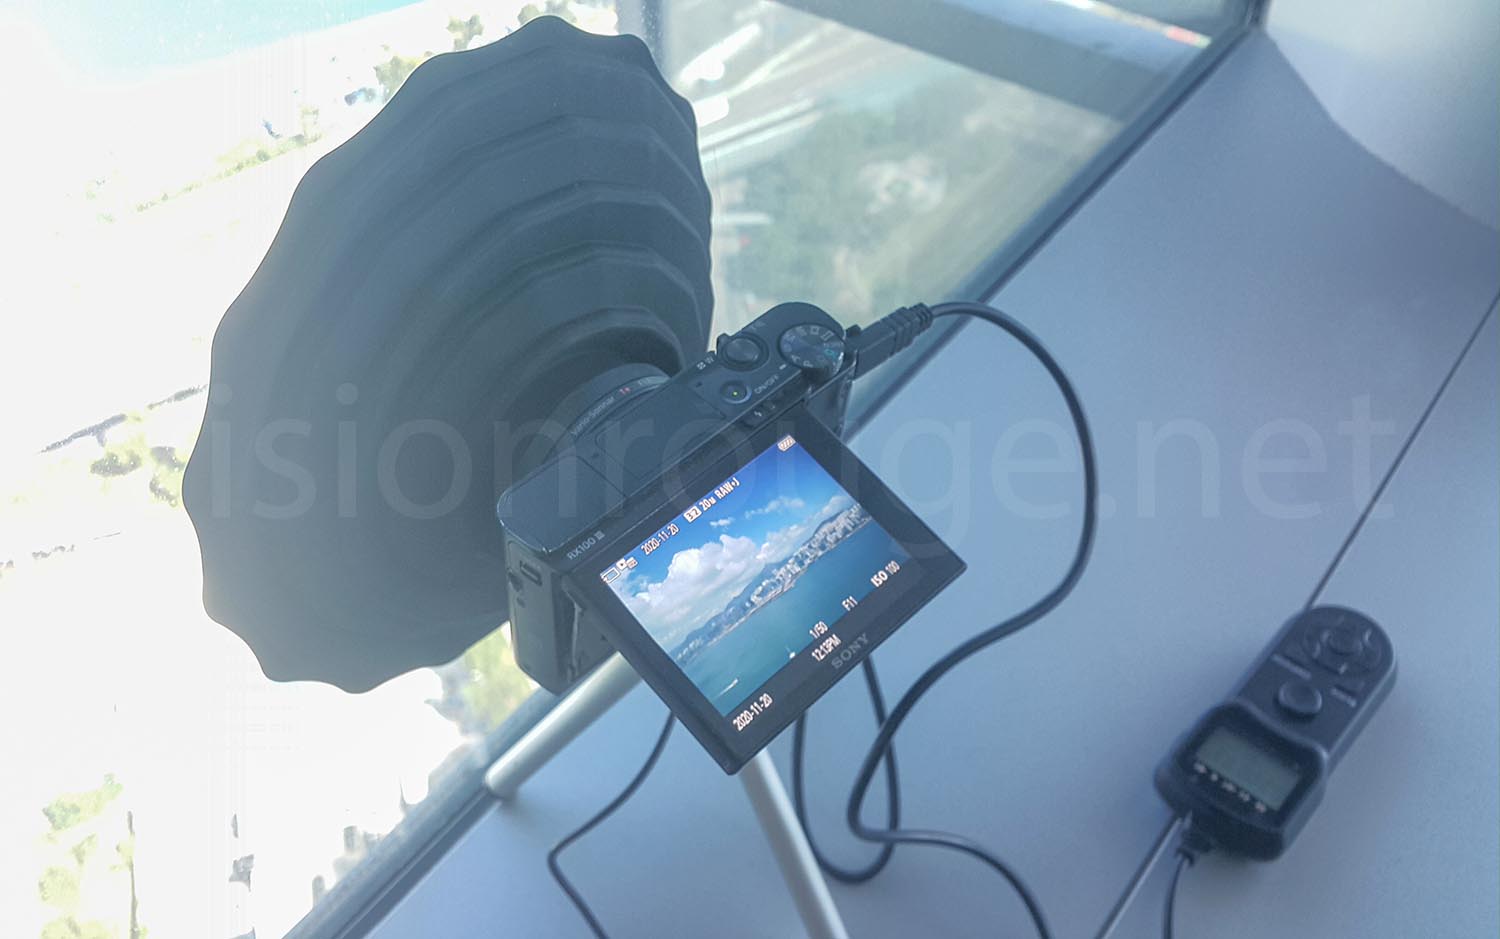
Windows reflections can be avoided with a simple black curtain right around your lens.
I’m usually using a piece of fabric and tape it to the windows. But I found online a much easier solution.
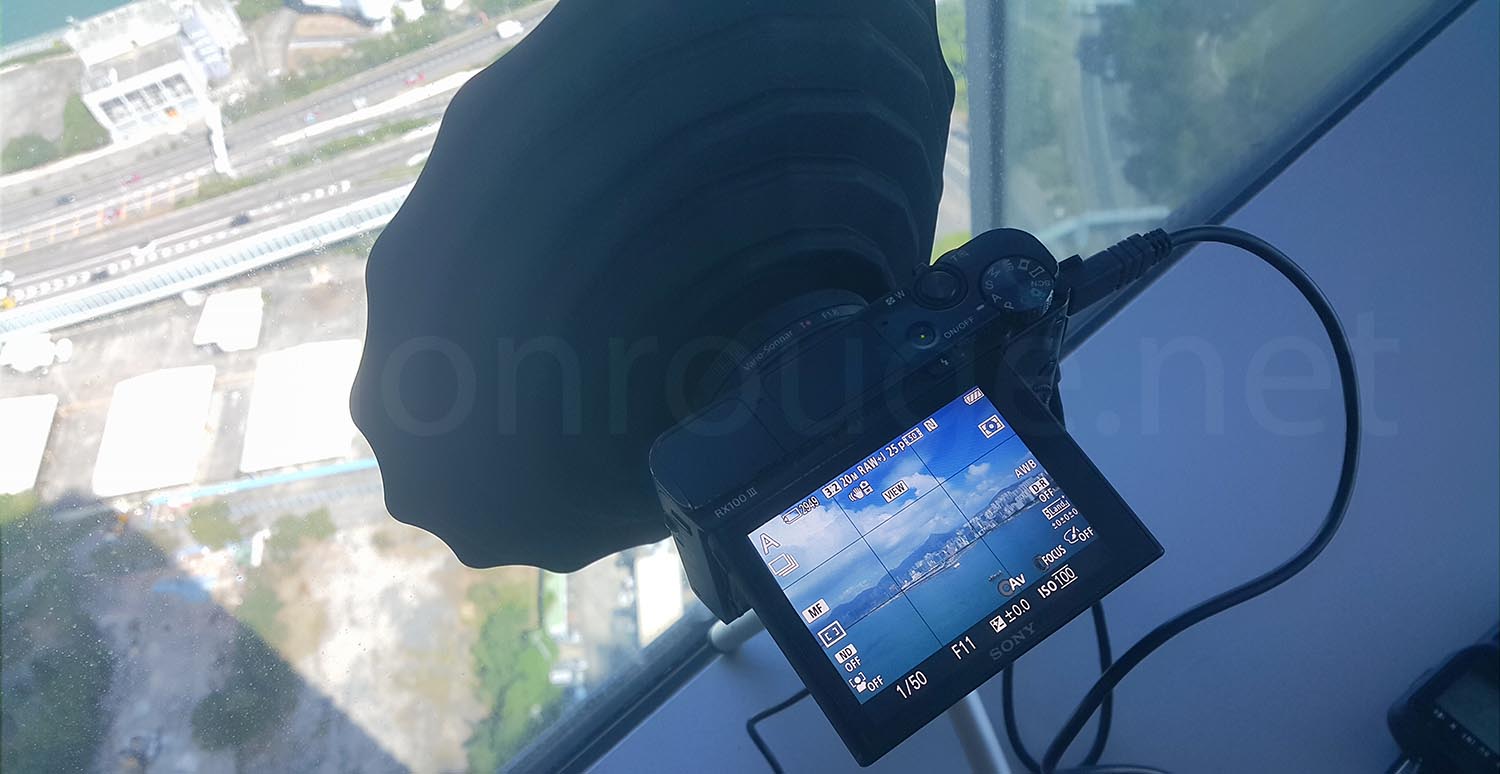
This piece of black rubber fits perfectly my lens diameter and avoids any light coming from the back of the camera. The window’s reflections are no more to worry about.
It’s very lightweight and can be put in a bag very easily. It has a cone per-shape and so is continuously pressing the window.
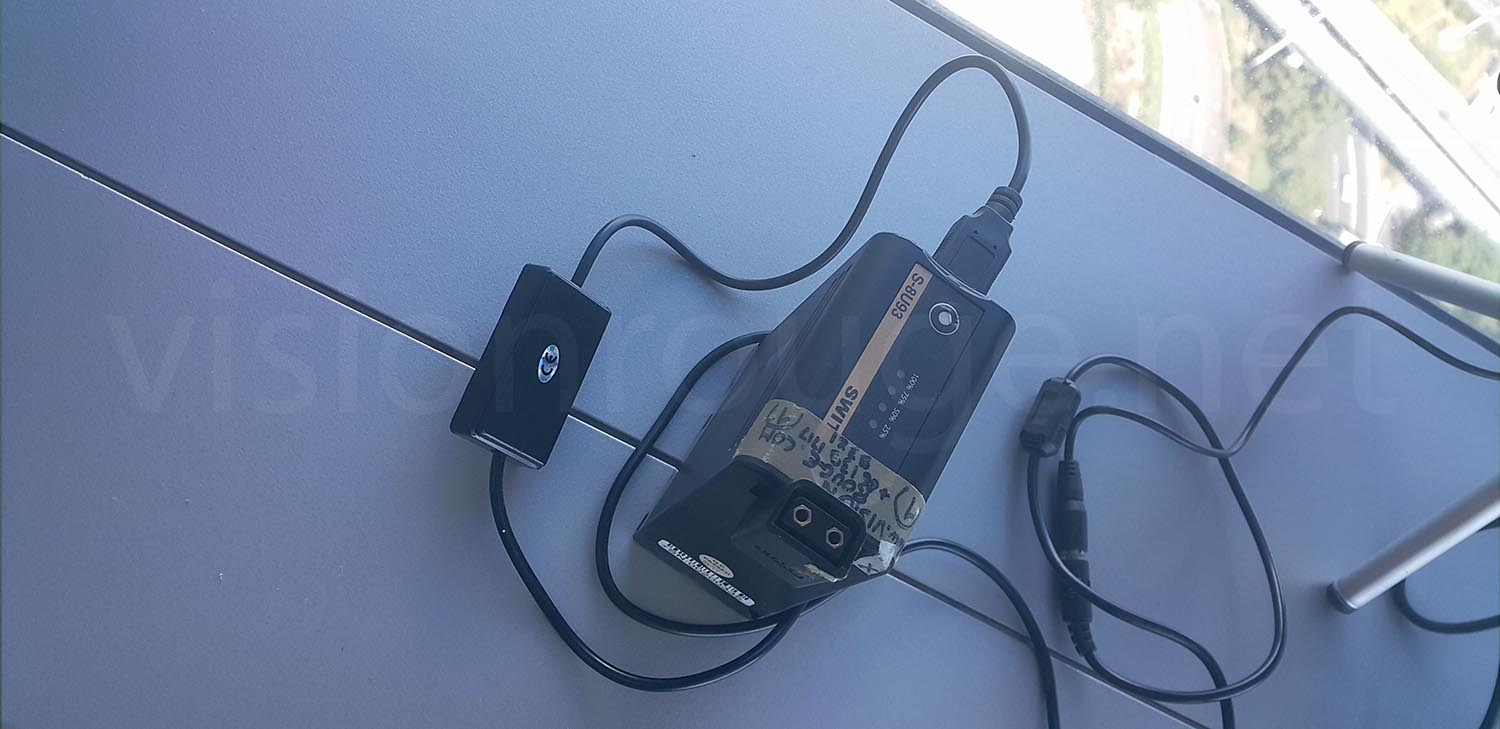
Lot of power with an external power bank.
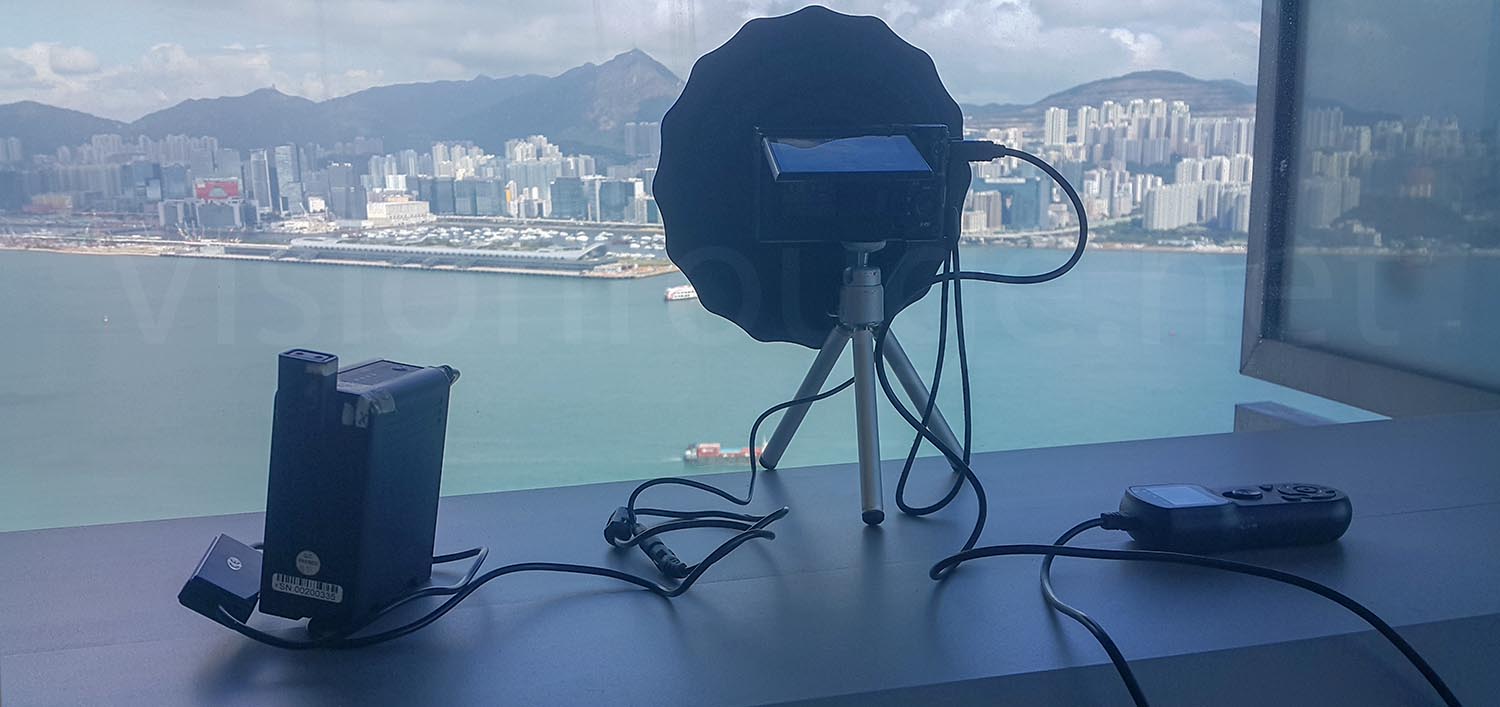
Using a USB power adapter offers you a vast range of possible external power banks. In my case, I’m using a Sony BP-U battery that will last for hours.
With a USB adapter, it means your camera can be powered with any phone power bank. In many Sony cameras, you could also just use the USB charging port of the camera. But it’s not possible in my case as I’m using it to control the shutter.
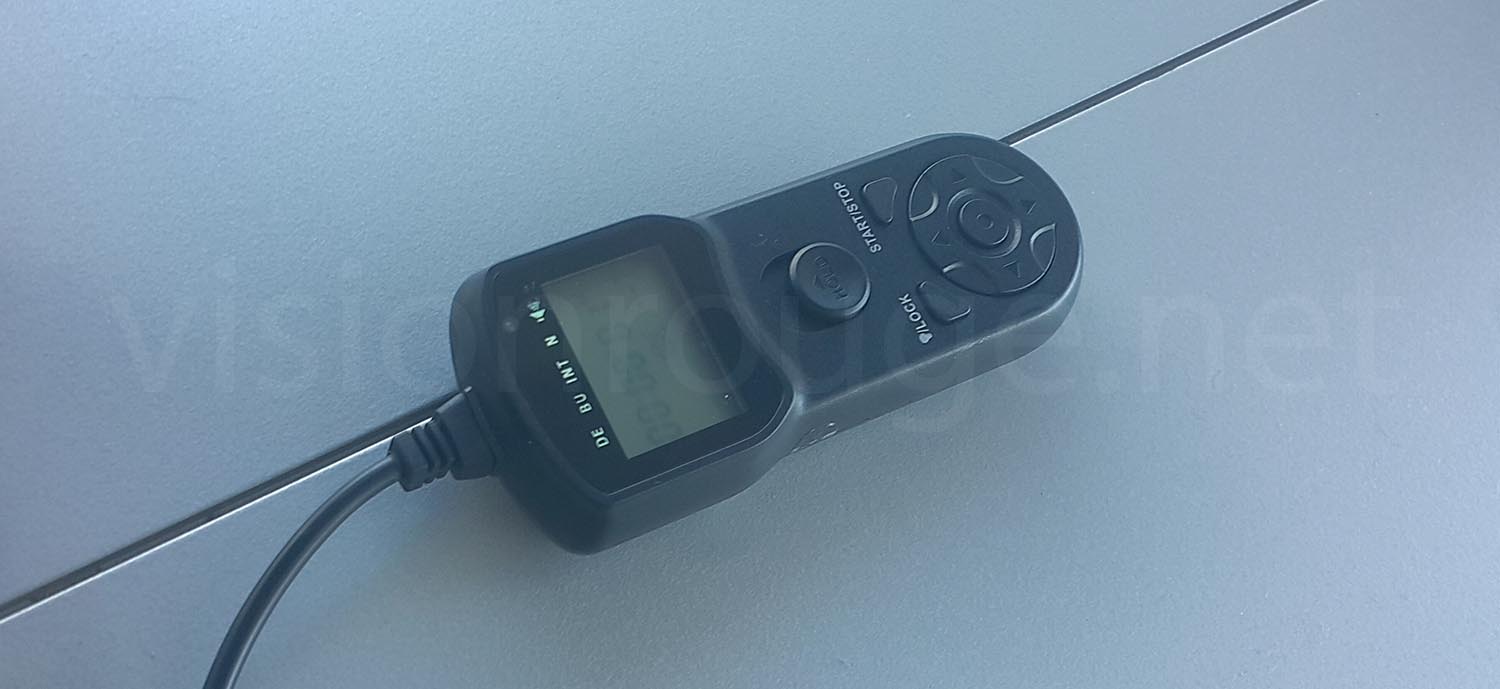
External trigger remote.
I love these little devices and you can find an alternative use there. It’s easier to program than going to the camera menu with some apps internally.
You may want to turn off the camera screen to save power when your time lapse is running, so getting an external control is a must. It lets you adjust the picture frequency without touching the camera and so keep the exact same frame.
In my case, I recorded for 90 minutes with a frequency of 6 seconds between takes.
The camera is a simple RX100 mk3 from Sony. It stills allows a 4K output size and fits any pocket!
Little support tripod.
In order to keep the camera at a right level, a very simple tripod can do the trick.
This way, when doing a corporate job on a hi-rise building, I can simply put this small kit in my camera and grab extra nice landscape time-lapse. There is a little ball head on the top that helps adjust the kit.
Camera shooting settings.
As usual; you need to get the focus in manual mode, and a fixed aperture and ISO. The only changing parameter in Auto mode should be the shutter speed that will follow the weather change if it’s not too drastic.
I’m also assuming you are reading the entire picture to determine the picture luminosity.
You can ask to get the rear screen turned off, so there is less power used.
White balance can be let in any mode as the RAW file does not contain this information.
RAW or JPG?
Raw format is a direct read of the sensor where JPG is a calculation done within the camera to get a smaller file.
This calculation is usually poor on a small pocket camera, especially in a landscape picture where you have different areas such as buildings, clouds and sea. These contrasted scenery will be losing details in a small 8 bits JPG format.
Save some space on your card and shoot RAW only.
You will use Photoshop or other to create the JPG on a powerful computer or even just put the RAW in your After Effect time-line.
The ISO should be kept as low as possible as this is where the maximum dynamic range is. RAW will not contain ISO information anyways and only the base ISO is important.
Framing a landscape time-lapse.
It’s important to keep in mind that the export may be a 16/9 ratio. The center is usually sharper than the corner, so your main subject should be there even if you crop and reframe after later on.
You never know how things will change. In this case, I could export 2 videos; one with the boats passing by the Hong Kong harbor and another one with the sky only.
Do, test and re-do.
You will fail, you will make mistakes and only by doing yourself you will learn.
Don’t assume reading on the internet is enough to get something great.
As you can read here, it all looks like perfect and easy work to do. But here are the mistakes I made when setting it up.
The glass was not cleaned and you can see the dust mark when I exported the JPG. In my case, I couldn’t, obviously, go outside and clean the windows as I was on the 40th floor building
Second mistake was to get a too small aperture in order to get all in focus, but that also helped see more of the dust mark on the windows. I went for F11 but F5 should have done it.
A lens sharpness is usually at the middle part of the extreme lens capability. A F8 aperture for a full frame is most of the time what you should go for. You need to reduce this number if your sensor is cropped. As the front window was very close to the lens, opening a bit my aperture may have dimmed the dust mark.
Clouds passing by the mountains in Hong Kong
This is a nice video despite the dirty windows, cloud are very nice movement with a picture every 6 seconds. It have been smoothed within After Effect.
Miniature effect time lapse
Even if all the frame is not interesting, the size of each picture is large enough to export a 4K video and select a dedicated zone.
The frequency is now 5 picture every 5 seconds. there is no smoothing to add to the miniature effect and create this tiny toy view of Hong Kong.
Other tips for landscape time-lapse.
Most buildings have a coating on the glass panel. So you really need to shoot straight to the glass and not with an angle. You will start to see artifacts that look like vignetting.
It’s always better to get the clouds coming or facing you. In my case, they are moving on the side, so it’s less impressive.
These are the very simple steps on doing a landscape time-lapse when indoor. I hope these tips will help you start your own.
If you like a more professional approach, feel free to visit our time-lapse services in Hong Kong and China here.
What do you need to create amazing time lapse ?
Here are few affiliated link to complete these tips.
Many others can work, it’s just a suggestion!
Large SD memory card, 256Gb and up
A Pocket camera with input trigger as the Sony RX100
A camera shutter release/trigger with AA battery
Round shaped rubber shade anti glare
USB battery power adapter NP-BX1
Large Power bank with USB Output
